Suspended G Train Coming
- Michael Byle
- Apr 11, 2025
- 4 min read
I managed to obtain a few G-scale pieces from an estate sale last year. I thought it would be nice to have them in the shop, but space is at a premium. The solution is to place them on an elevated trackway just below the ceiling. This blog will describe the process I used to design the layout and means of construction.

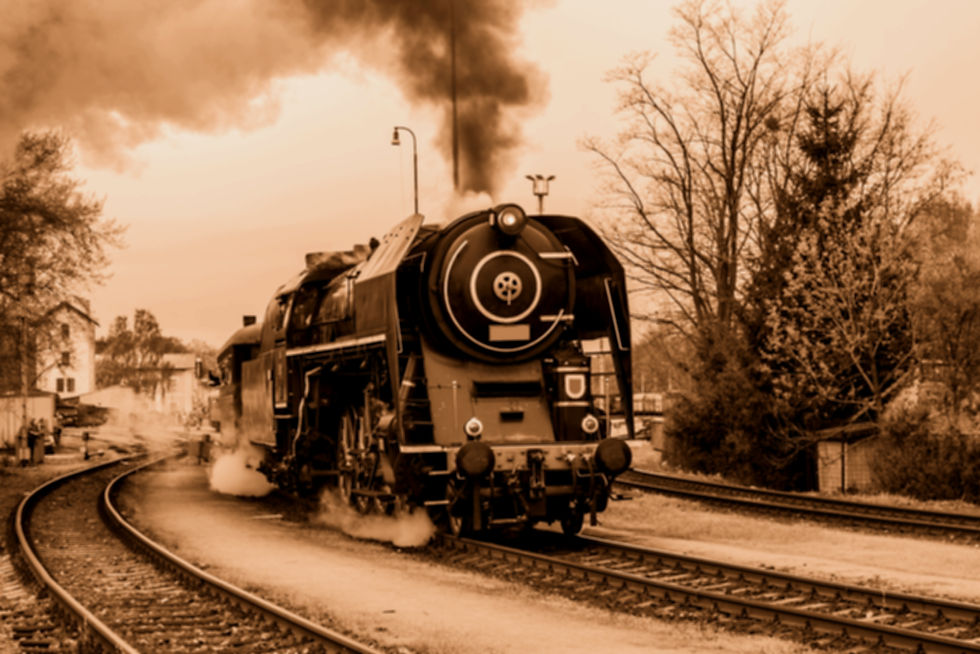
The trains are from Aristocraft, which is no longer in business. The trains I bought were mostly new in original boxes and include two FA-1, and one FB-1 locomotives for an A-B-A arrangement and eight cars including, a baggage car, combine, passenger cars and an observation car. I also obtained a couple of boxes of solid brass track, some of which was new, but most had been used in a garden railroad and needed cleaning to remove soil.
Now that the track and rolling stock are decided, the next step is defining the space and requirements for installation. The location I selected is in the rear of the store in an area where the ceiling is higher than in the rest of the store.

The area is roughly 12 feet by 16 feet. The track would be suspended on brackets from the walls, including along the short step wall at one end. In order to assess the track requirements I looked at clearances needed for the locomotives and cars with the track radius I was planning. The curved track is 8 feet diameter; 4 feet radius. I assembled the track on the floor and then ran the engine and cars over and measured the overhang. This turned out to be 1-3/4 inches. I decided to add a safety margin and planned the track for a 2-1/2 inch offset from the wall. Deducting these offsets from the room dimensions, I was able to determine the maximum size of my track loop.
The track loop could have been built by cutting custom lengths of track to fit exactly, but I found that reducing the length and width by less than 1 inch, I was able to use all standard length track sections. This would simplify the track work considerably, eliminating cutting track.
Next, I looked at the track support requirements. I managed to locate the perfect sized corner brackets on Amazon that were stiff and strong enough to more than carry the weight of the train and track. Aristocraft track is solid brass and fairly stiff, but spans of more than about 12" would deflect under load, so I looked at simple ways to support and stiffen the track. This became a significant issue for the corners, where the large radius made the track center too far from the wall for wall brackets to be used. I considered several options, but settled on cabinet grade plywood.
Cabinet grade plywood is much stiffer that regular plywood or OSB. It has 9 ply's and veneer layers, much more than usual plywood. This makes it much more dimensionally stable. This means that it will not warp or distort as much. I also selected 3/4' for a really solid base.

Given that 3/4' plywood is heavy, I needed to keep the supports small. I also did not want the track support to dominate the view of the train. This I accomplished by cutting the plywood to fit the track, allowing 3/8" on either side of the track. This provides solid support directly under the track, but also allows the ends of the ties to stick out past the plywood, giving an effect similar to a bridge.
For best support, the plywood sections should be as long as possible. I cut the corners from tangent to tangent as single pieces. This was done using a compass created from strip wood anchored by a screw to a side extension (this is because the center of the radius is not within a standard 4'x 8' sheet). The other end of the strip wood was drilled to fit a pencil at the correct distance for the inner and outer radii. The sections were cut out using a sabre saw and required some filing and sanding to smooth the edges.


This approach greatly simplified installation, since the entire track plan consisted of six sections of plywood. The plywood sections were painted black using acrylic paint prior to installation. This makes them virtually disappear keeping the focus on the train and not the supports. The sections would be attached together using steel fishplates. Both the brackets and the fishplates are powder coated black as well. The track was pre-mounted to the plywood base for the corners for ease of installation.

Check this site out next week for further updates.